Help › Functions
Terminal and SSH
Work with SSH servers – directly or through one of your devices, with keys that stay on this device.
DeskRanger connects you to your servers over SSH: the NAS at home, a Raspberry Pi or a server in a data centre. The hosts belong to your account and appear on all your devices. Passwords and keys, however, stay on the device where you enter or create them.
macOS
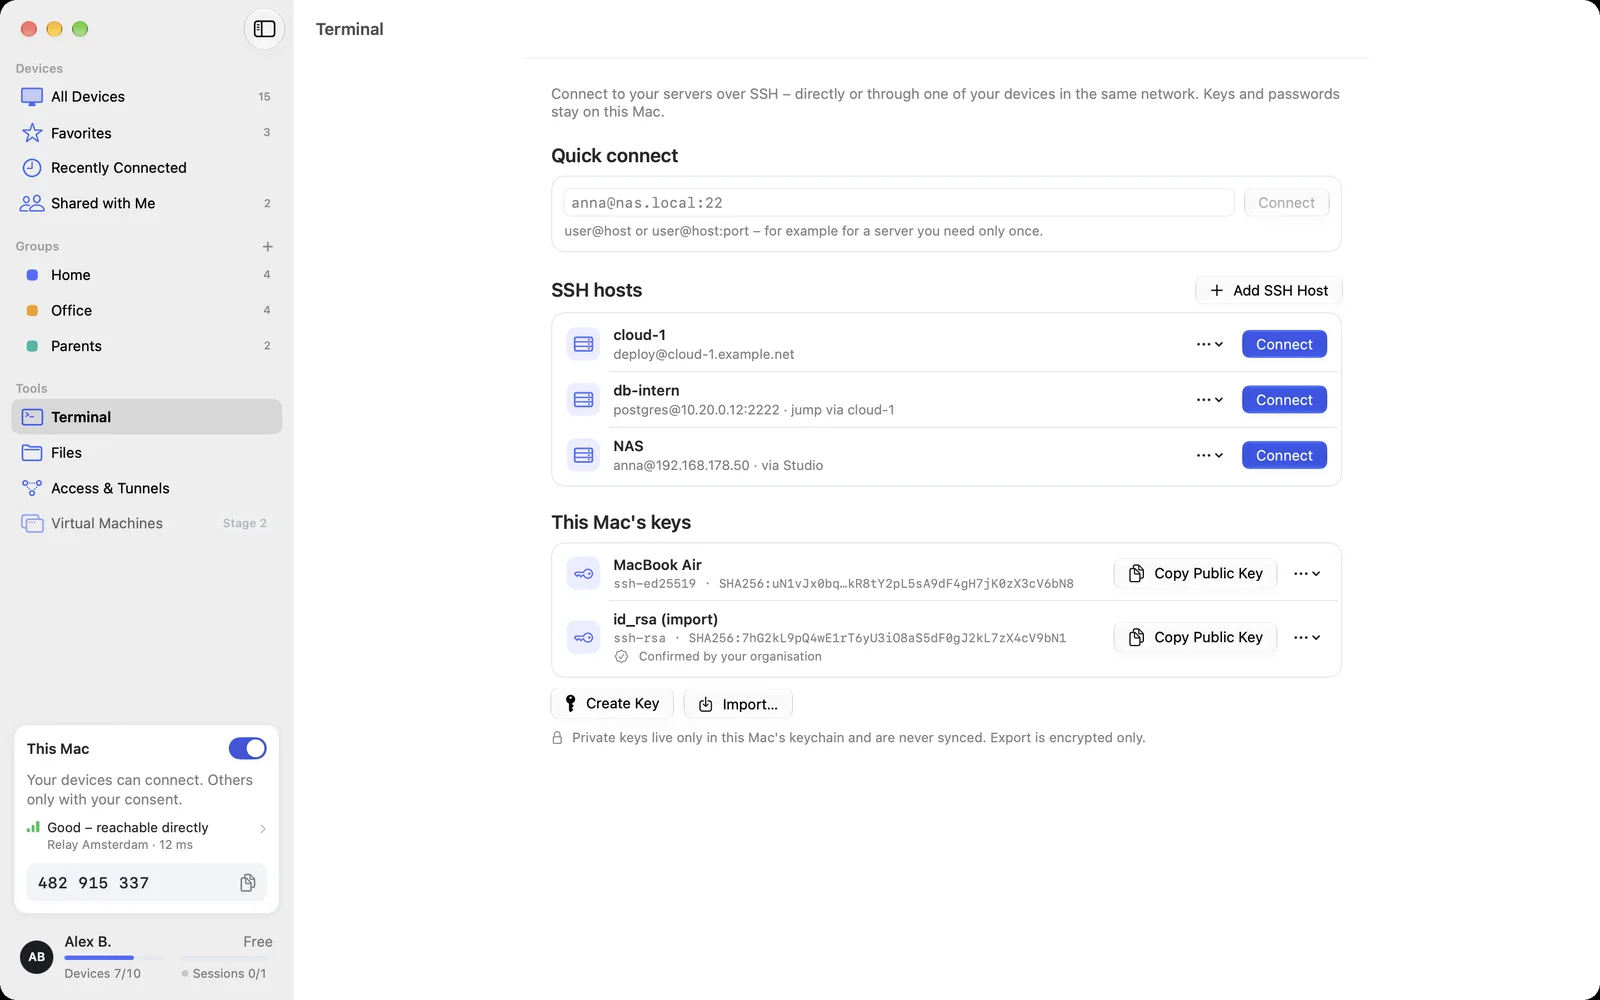
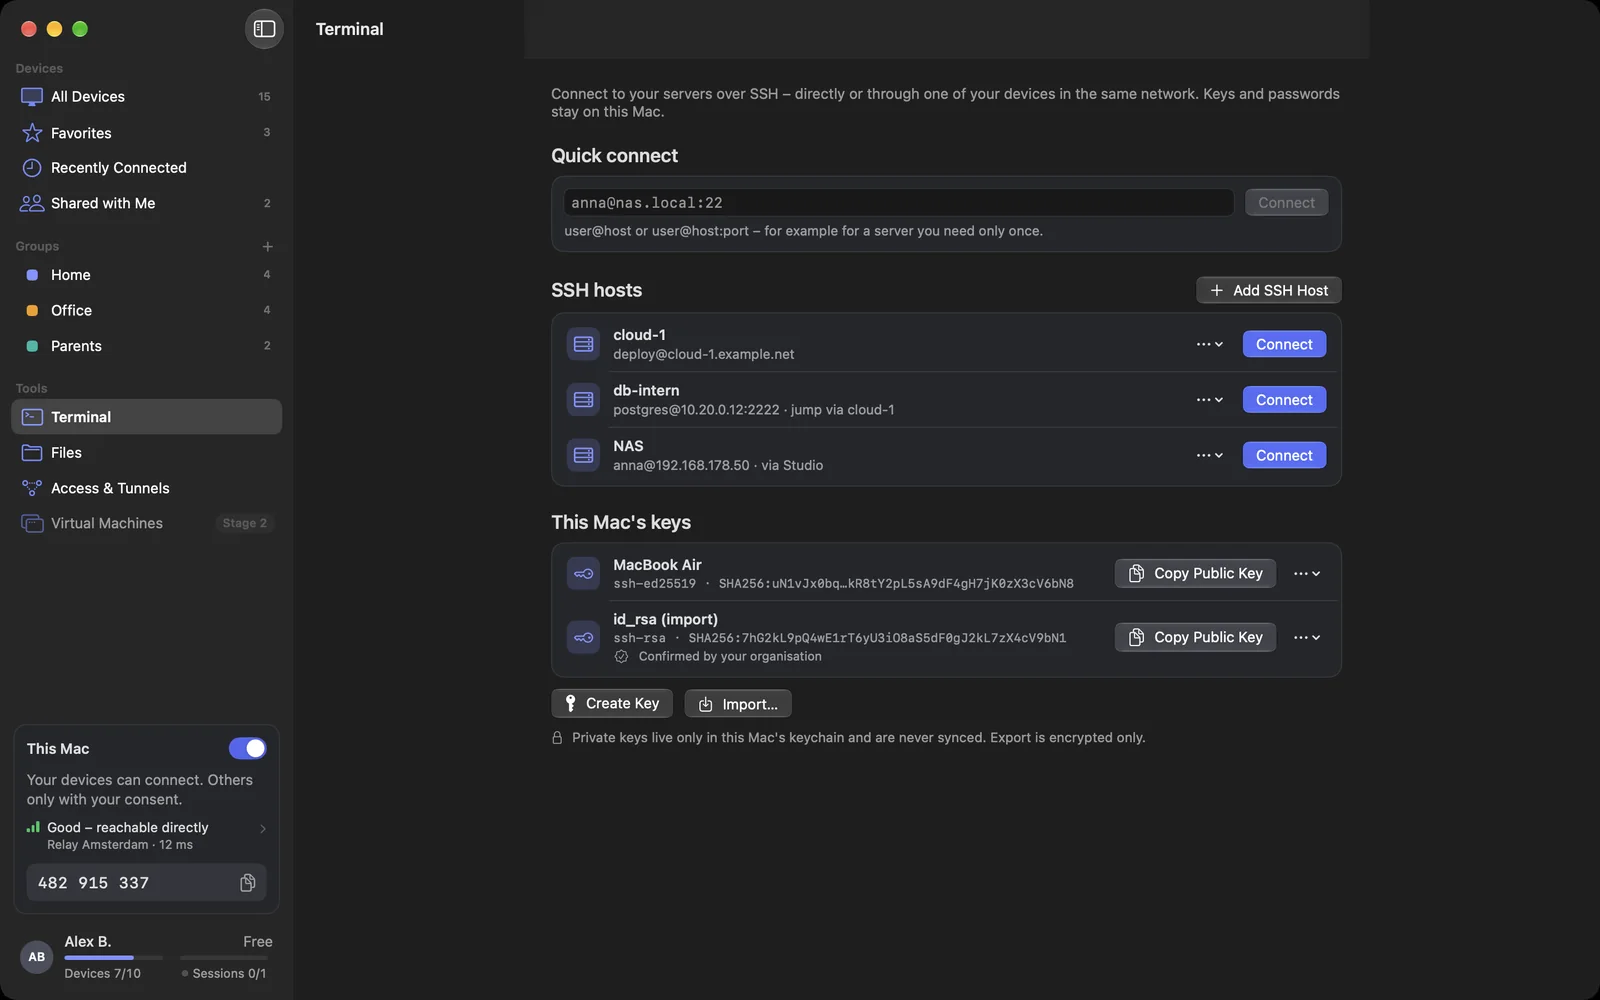
You find everything under Terminal in the sidebar: Quick connect, your SSH hosts and This Mac's keys.
Windows
This function is planned for Windows.
iPhone & iPad
This function is planned for iPhone & iPad.
Web
This function is planned for Web.
Add an SSH host
macOS
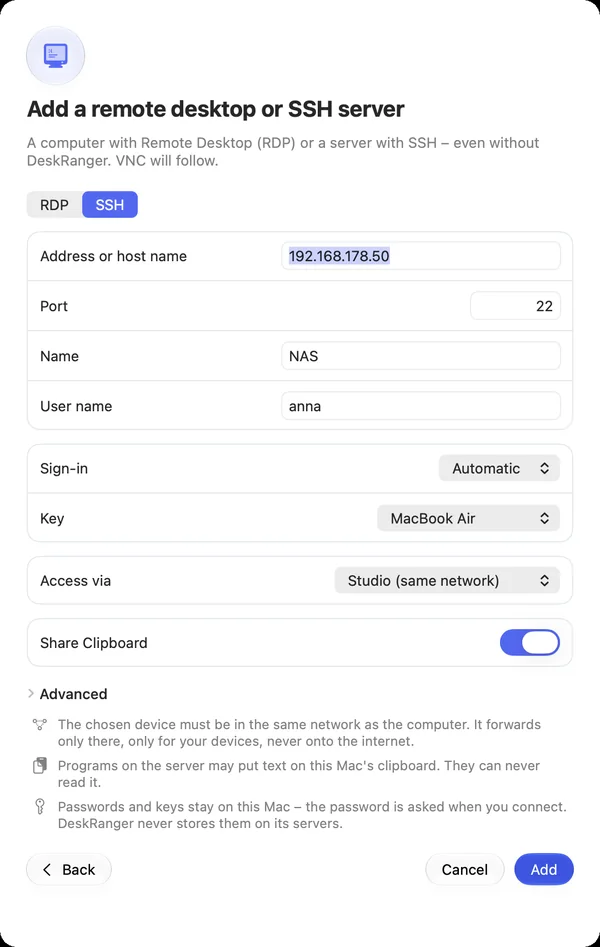
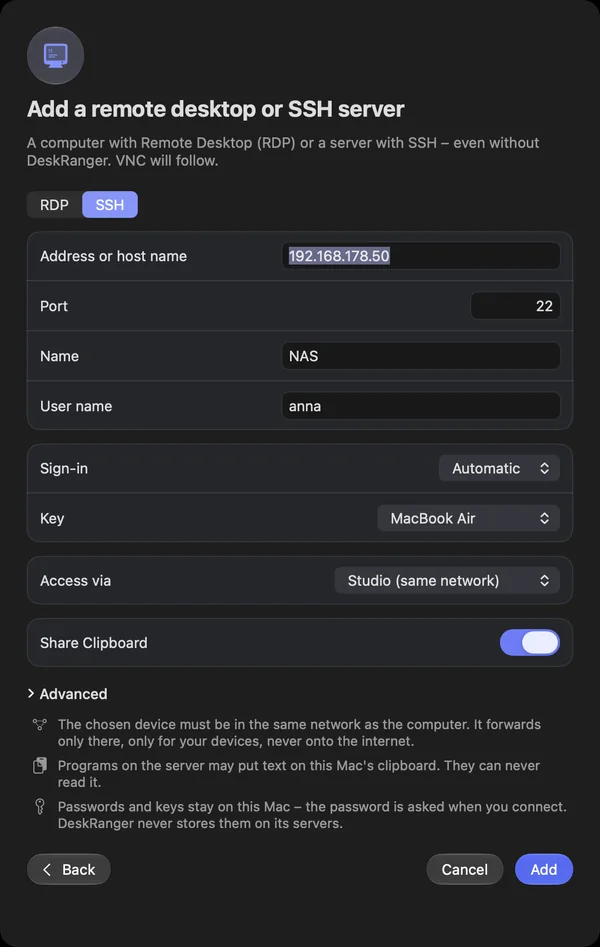
Choose Add Device and then Add a remote desktop or SSH server. Switch to SSH at the top and enter the address, port and User name. Under Sign-in you choose whether this Mac signs in with its keys, with the password or automatically.
Windows
This function is planned for Windows.
iPhone & iPad
This function is planned for iPhone & iPad.
Web
This function is planned for Web.
If the server is in another network, choose a device that runs there under Access via. DeskRanger then passes the encrypted SSH connection through that device, without any port open on the router. The device in between sees only encrypted data.
For a server you need only once, simply type user@host or user@host:port into Quick connect.
Keys
A key is safer and more convenient than a password. Create Key creates a new key on this device. Its private part stays in this device's keychain and is never synced.
- Copy Public Key puts the line for the server's authorized_keys file on the clipboard.
- If you are already connected to a server, Set Up Key on Server in the window's menu does it for you.
- You take over existing keys (OpenSSH, PEM, PuTTY) with Import…. Export is encrypted only, with a passphrase.
The first connection
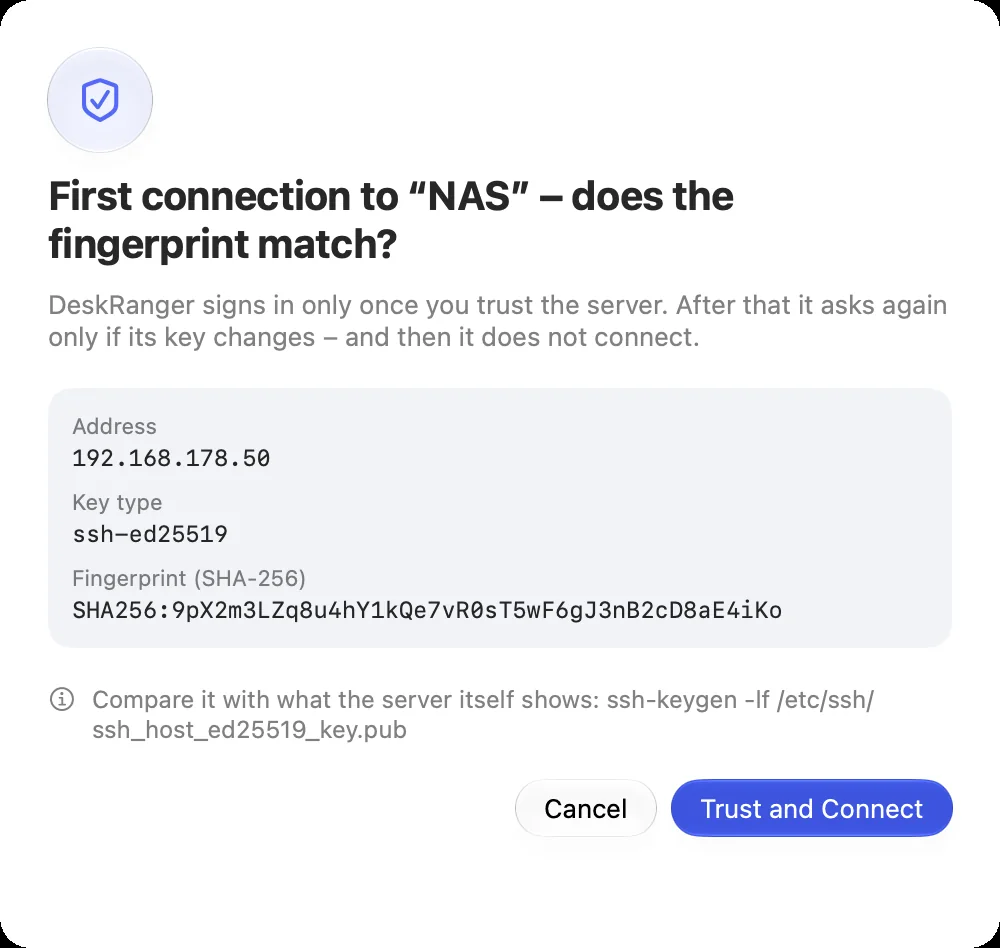
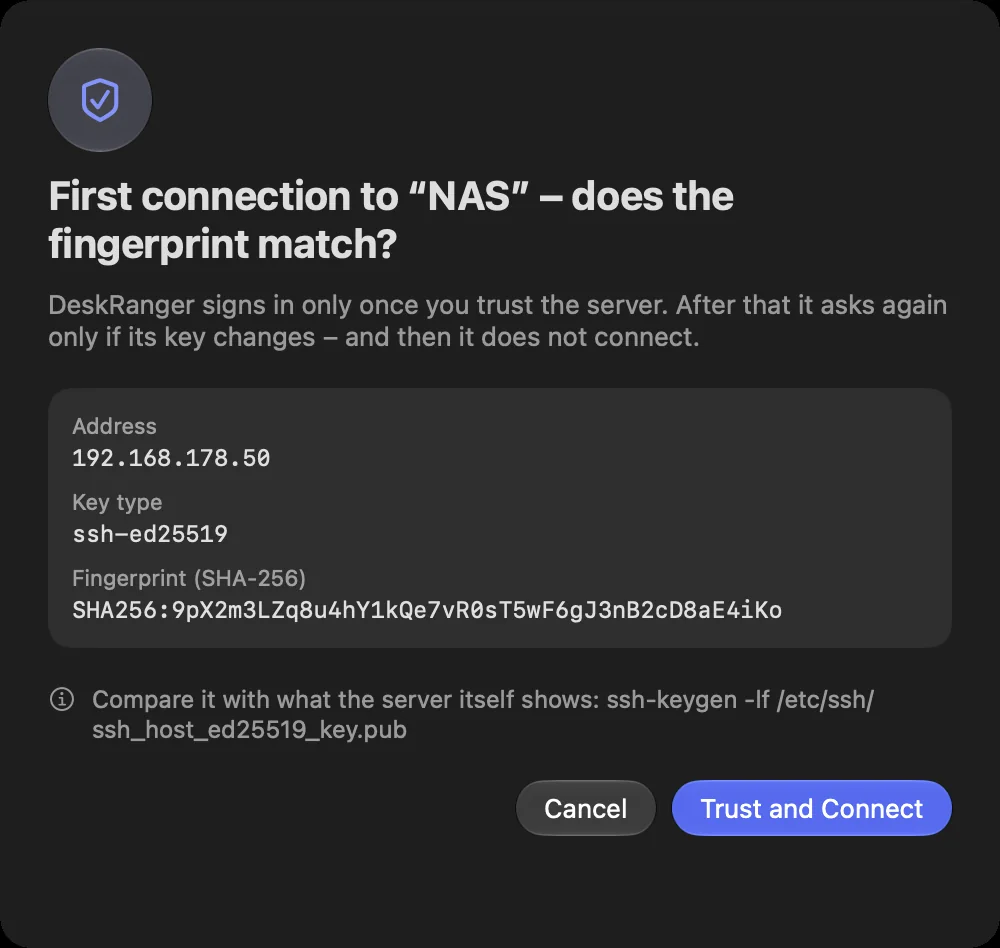
The first time, DeskRanger shows the server's fingerprint. Compare it with what the server itself shows, then choose Trust and Connect. After that, DeskRanger does not ask again.
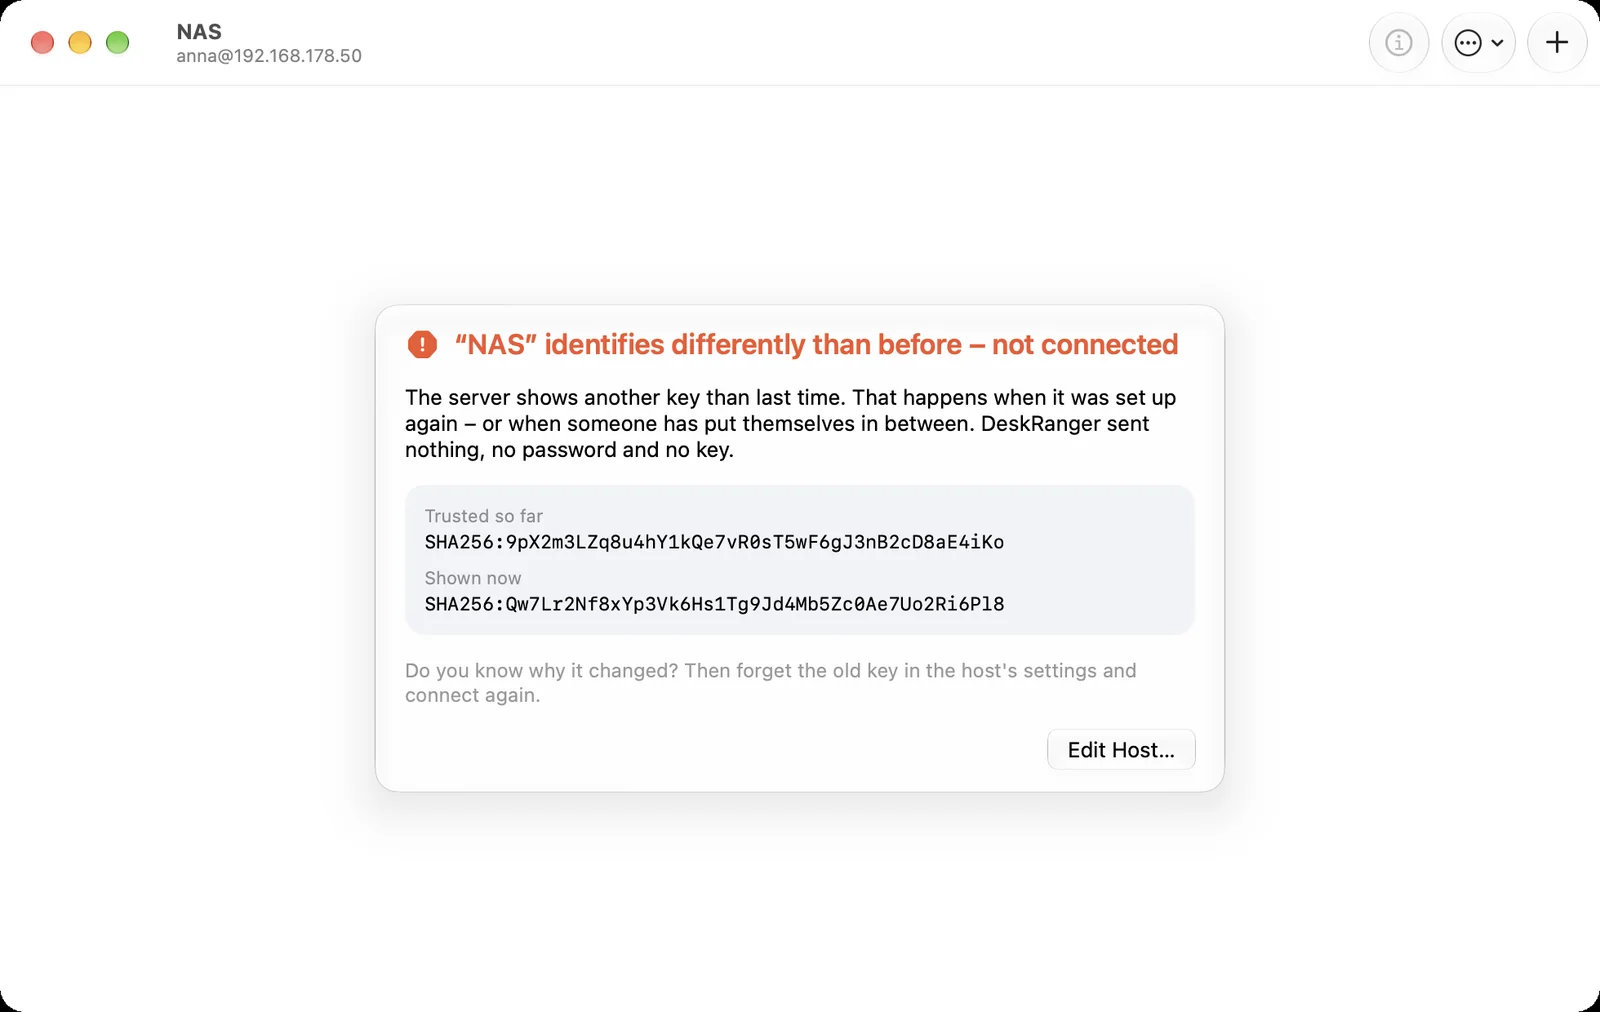
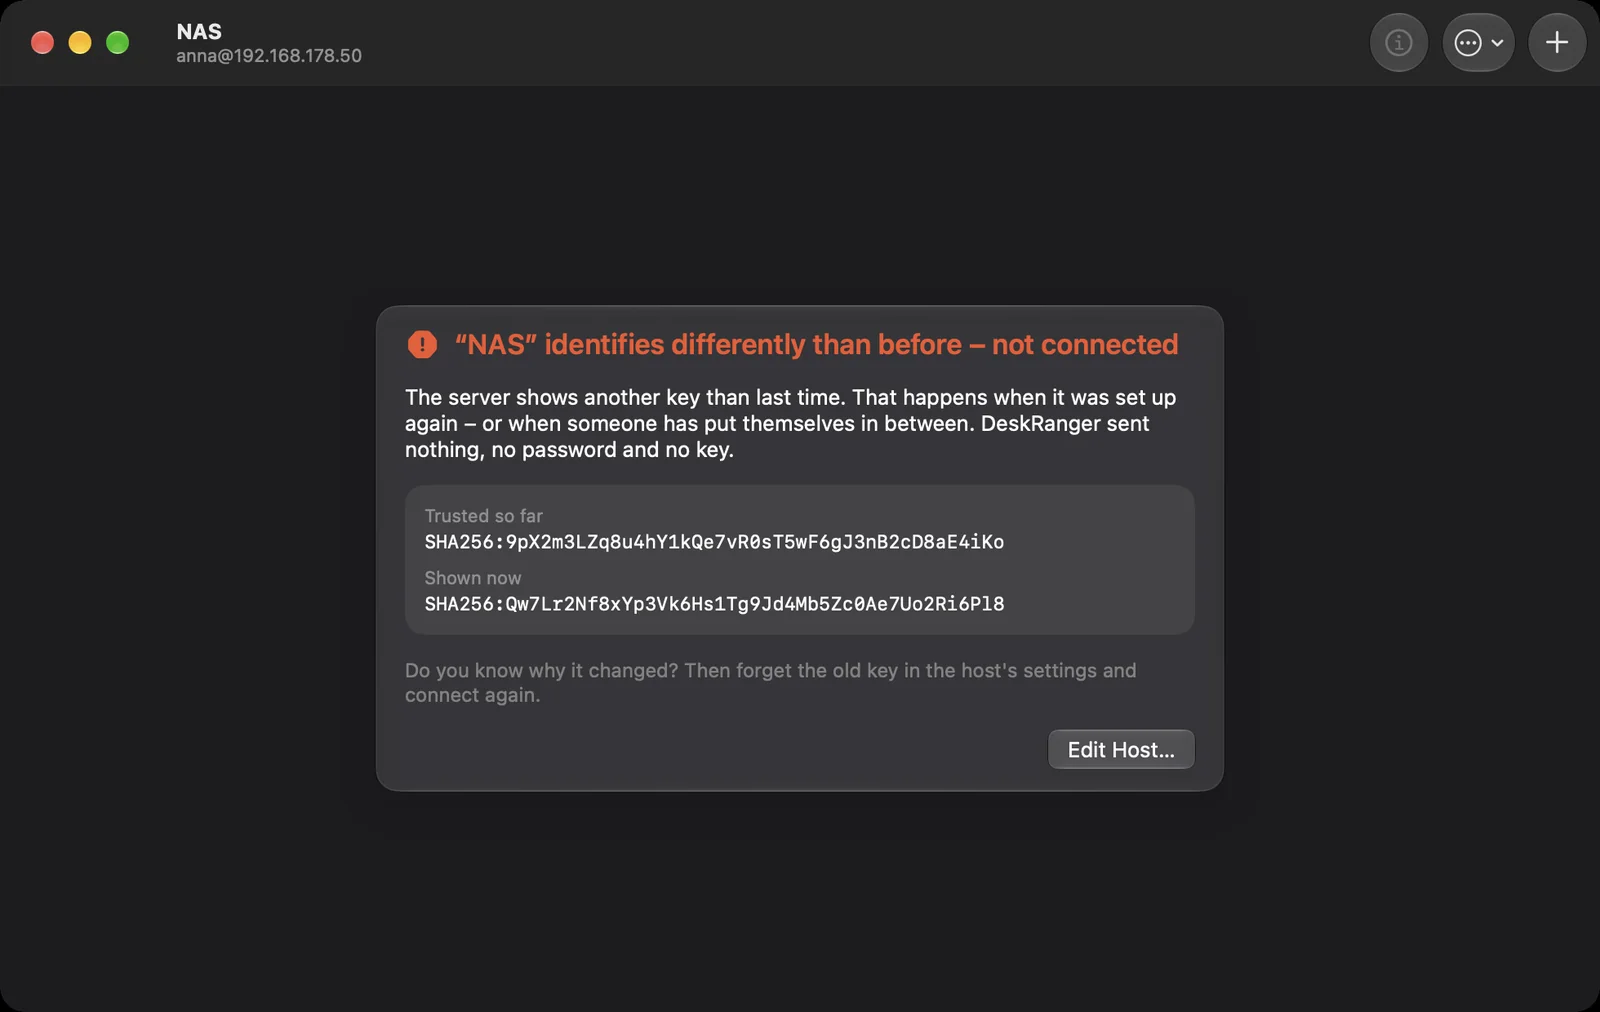
If the server later presents another key, DeskRanger does not connect. It then sends neither a password nor a key.
Working in the terminal
macOS
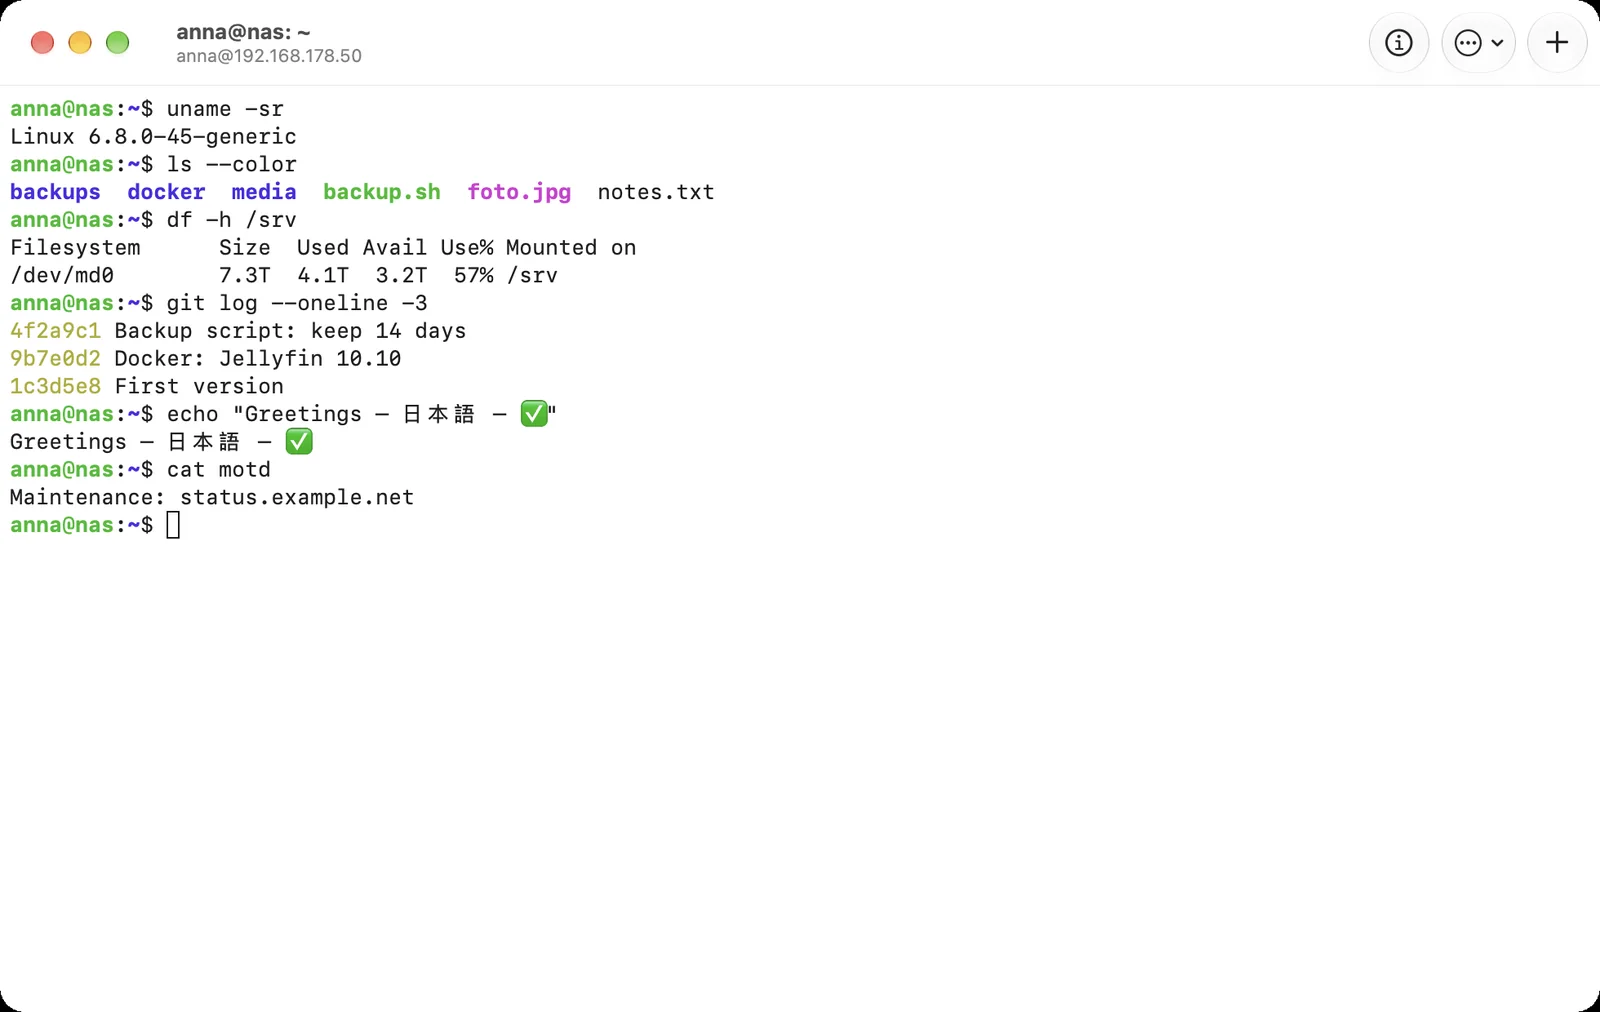
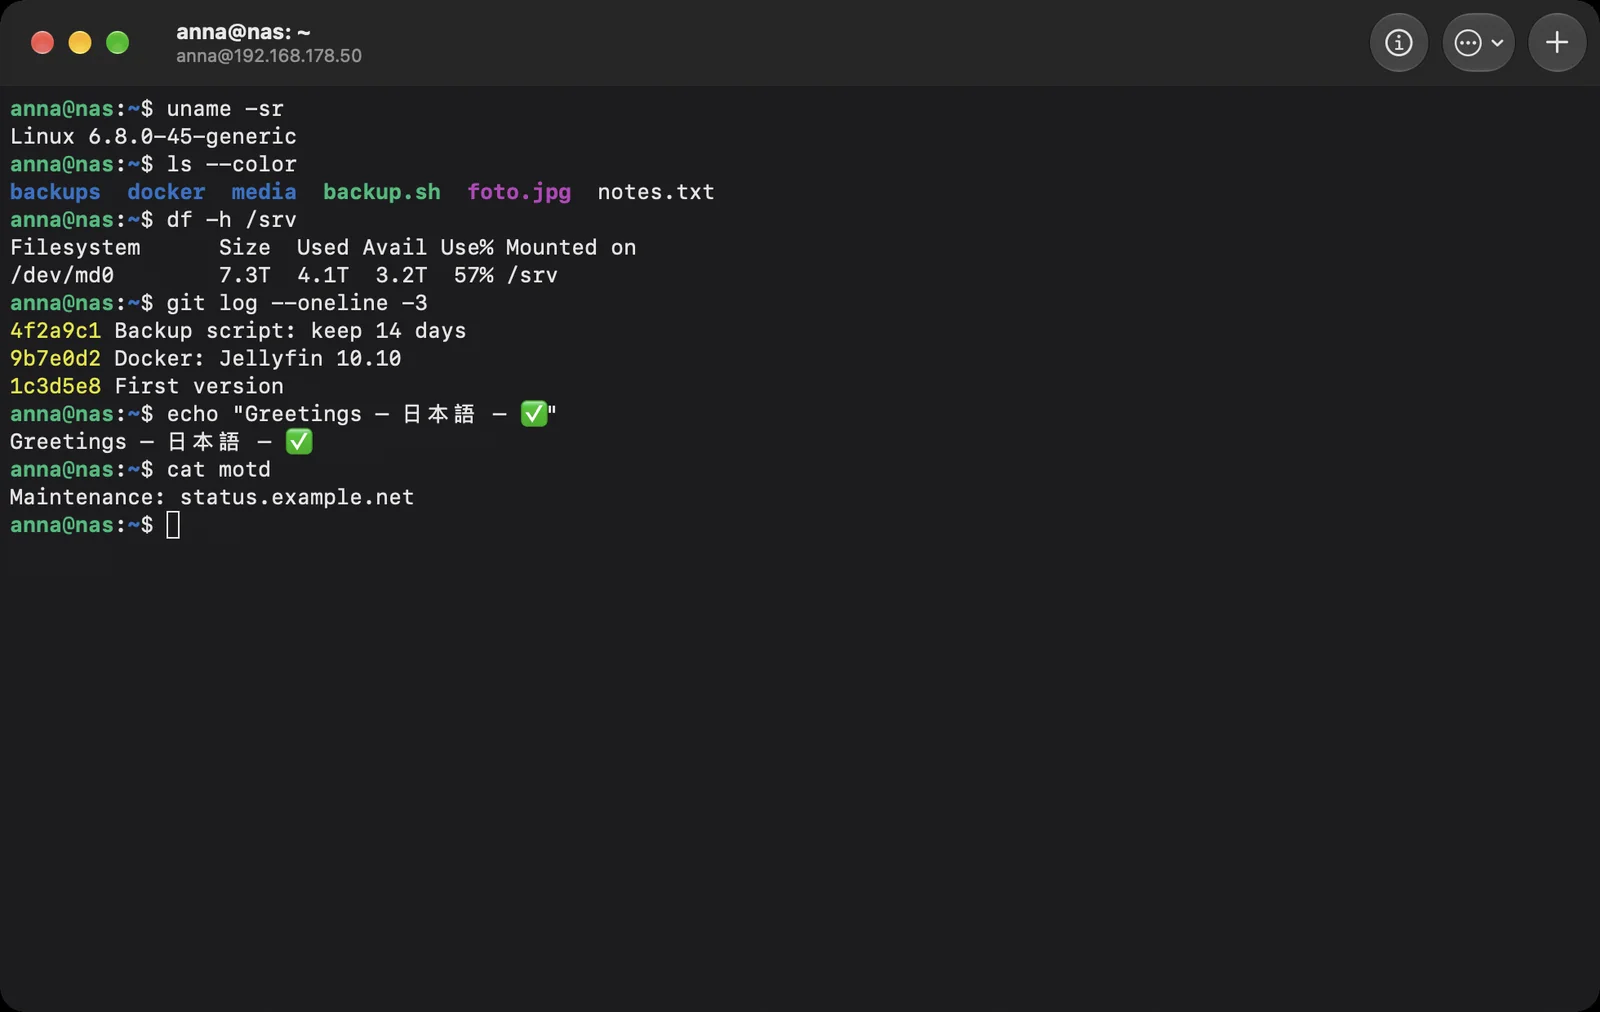
Each host opens in its own window. Several windows become tabs; ⌘T opens the next one. Links show their target when you move the pointer over them and open with ⌘-click.
Windows
This function is planned for Windows.
iPhone & iPad
This function is planned for iPhone & iPad.
Web
This function is planned for Web.
If you paste several lines at once, DeskRanger asks first: otherwise every line would run as a command right away. Hidden control characters are removed when pasting.
Programs on the server may put text on your clipboard only when Share Clipboard is on for the host. They can never read your clipboard.
Save Output… saves what the terminal shows as a text file.
Is the server on and reachable from this device? If it is in another network, choose a device that runs there under Access via.
Check the user name. If you sign in with a key, its public part must be in the authorized_keys file on the server.